How to use and make Custom Gutenberg Block in WordPress (Easy Way)
After the 5.0 update of WordPress, you need to use the blocks to add content in the block editor. If you want to create custom blocks, this tutorial on How to Create a Custom Gutenberg Block in WordPress is for you. While there are many WordPress plugins with their own blocks that used be used, professionals want to create their own custom block for specific tasks. Using a block is super easy and gives multiple opportunities to your website. Let’s dive deep into the subject.
Why use Gutenberg Block WordPress?
Gutenberg has been popular in the market for a while now. This has evolved as the best and reliable technique to make the type of website you wish. Gutenberg blocks contain a different variety of content to create your layouts. This block editor is incredibly intuitive and flexible. Along with plugins like Toolset Blocks, one can easily make complex websites that look great. To add, Gutenberg is can be used on mobile.
Before getting started note that this is the tutorials for beginners and intermediate who making their own custom Gutenberg blocks. If you have the knowledge of coding, you add the blog with HTML and CSS tags. So, let’s start.
How you use Gutenberg Block in WordPress?
Adding new block
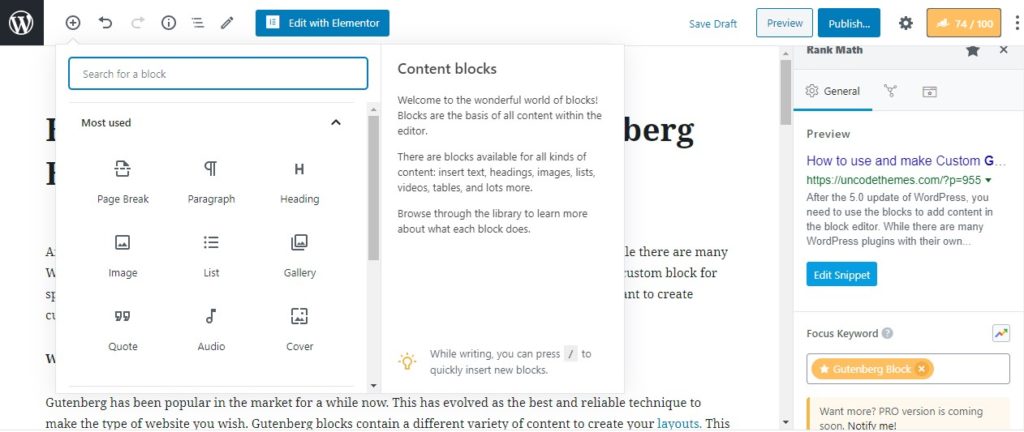
First things first, let’s learn how to add your blocks. It will only take a couple of minutes before you are an expert at adding a block. Open the page or post section of your dashboard and click the “+” button seen on the left-top of the page. Scroll down or search for the block you want to add and click the block to use to insert it. Enter the content information in the blog.
Editing and Removing a block
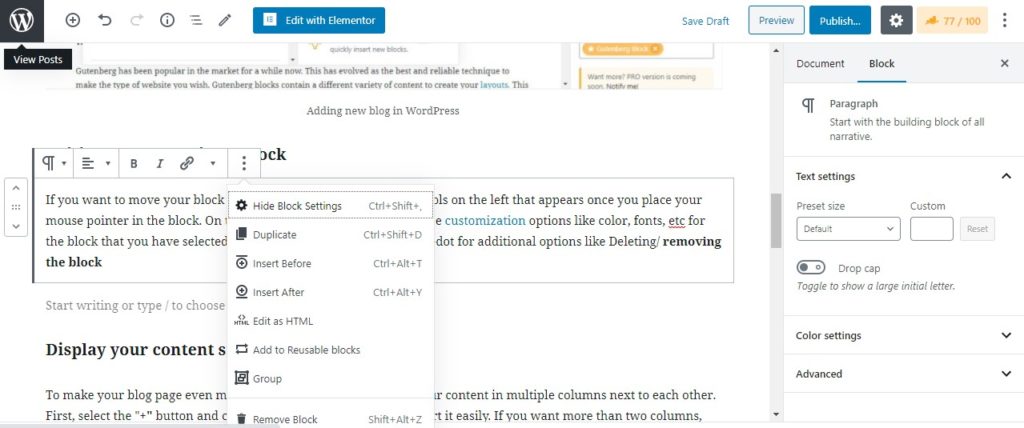
If you want to move your block around, you can use the set of controls on the left that appears once you place your mouse pointer in the block. On the rightmost sidebar, you can see the customization options like color, fonts, etc for the block that you have selected. You can press on the vertical three-dot for additional options like Deleting/ removing the block
Display your content side-by-side
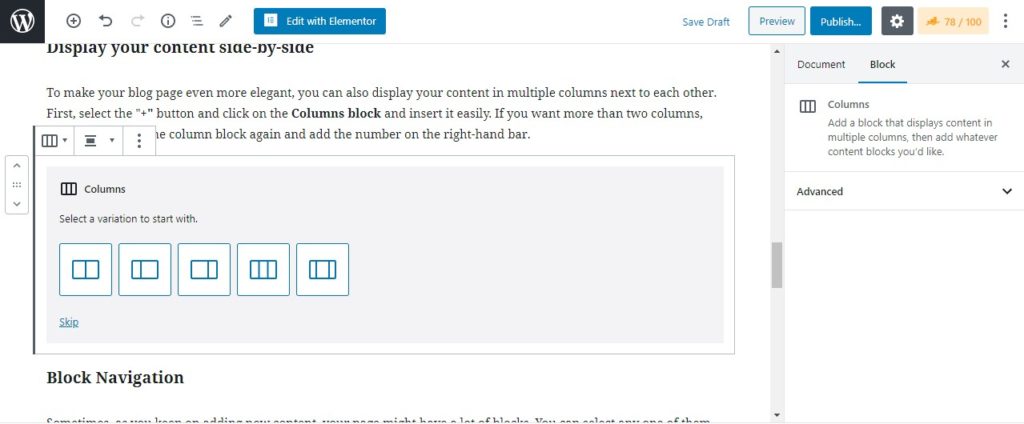
To make your blog page even more elegant, you can also display your content in multiple columns next to each other. First, select the “+” button and click on the Columns block and insert it easily. If you want more than two columns, you can select on the column block again and add the number on the right-hand bar.
Block Navigation
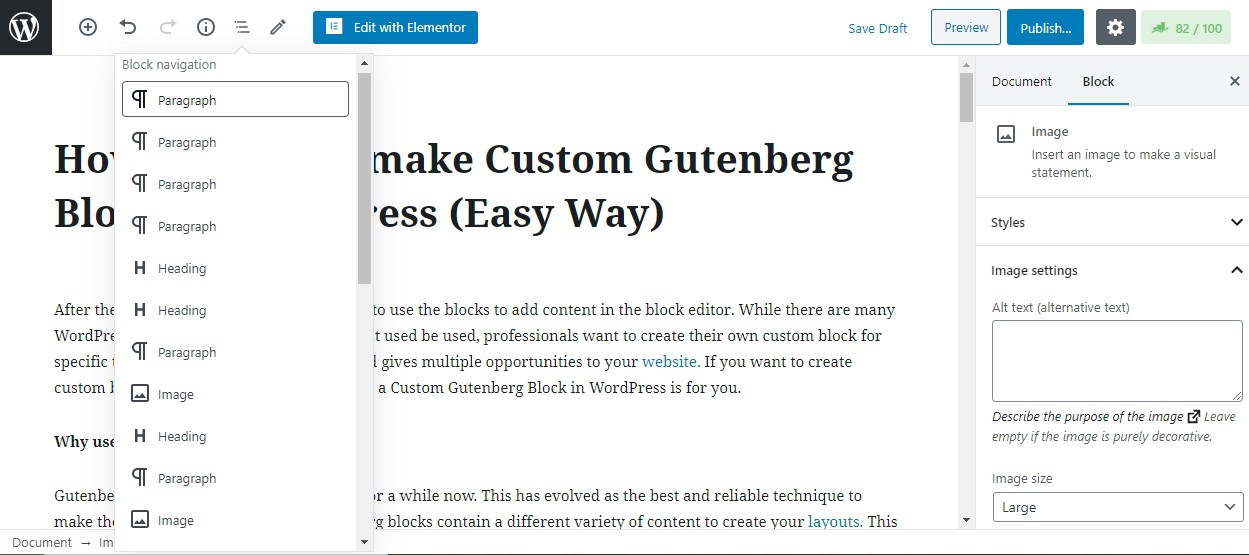
Sometimes, as you keep on adding new content, your page might have a lot of blocks. You can select any one of them easily by using the Block Navigation button that is located on the top of the editor and by selecting the block you need.
Adding image gallery to website
You can either add a single image or a gallery to your posts by the use of blocks. Select the Gallery block at the + button and simply add multiple photos.
Styling your blocks
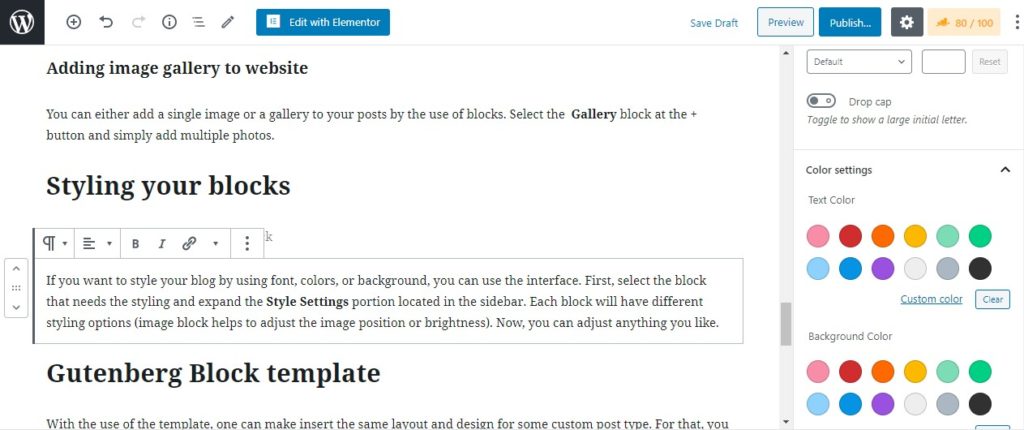
If you want to style your blog by using font, colors, or background, you can use the interface. First, select the block that needs the styling and expand the Style Settings portion located in the sidebar. Each block will have different styling options (image block helps to adjust the image position or brightness). Now, you can adjust anything you like.
Gutenberg Block template
With the use of the template, one can make insert the same layout and design for some custom post type. For that, you can go to your Toolset->Dashboard and find the Create Content Template for the post type you wish to add. Then, you can add fields in your template and include different blocks like Image, Heading, and Single Field block which all contain fields. Save the setting and publish the template to use it for all the pages.
Now after you know all the basics steps to use and Create a Custom Gutenberg Block editor in WordPress, start designing your custom website.
If you have any thoughts or queries, please drop it in the comments below!

